Pockla provides multiple ways to add contacts to your workspace—from individual manual entry to bulk CSV imports.
Contacts page overview

Contacts page overview showing table with contacts

Manual Entry

Add contacts one at a time directly in the app. This is ideal for quickly adding new leads as you encounter them.
1

Open the Contact Modal

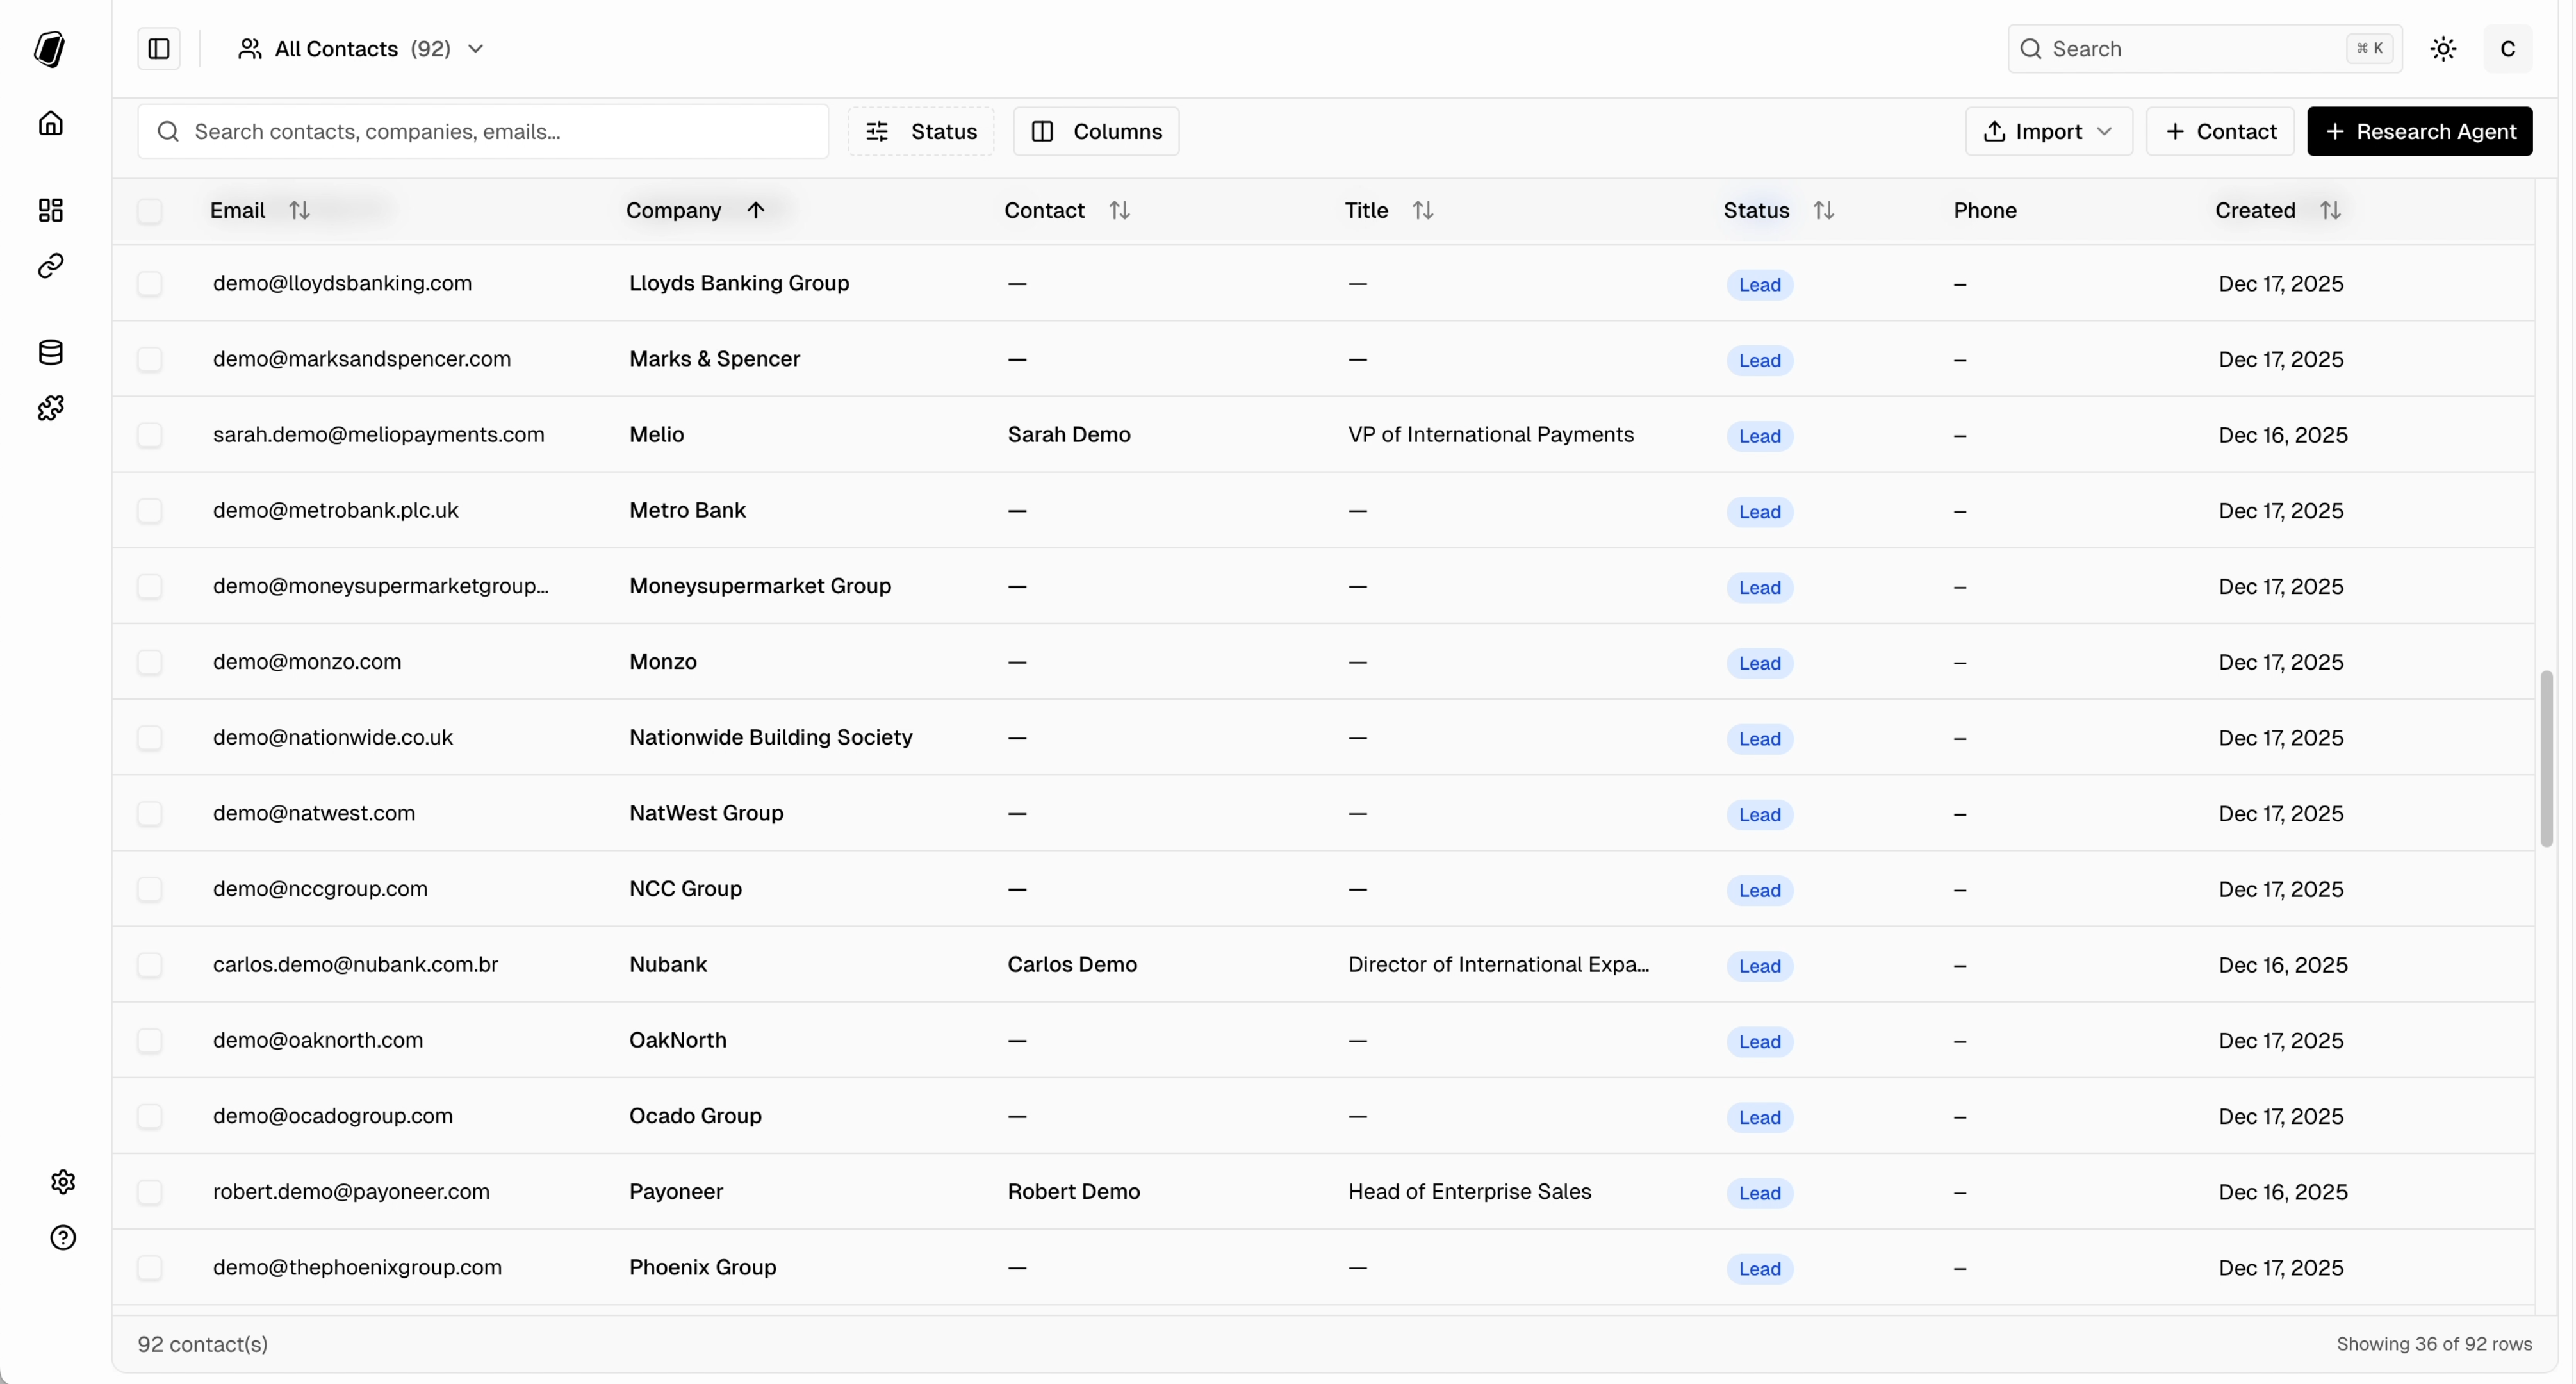
From the Contacts page, click the Contact button in the toolbar.
Add contact modal

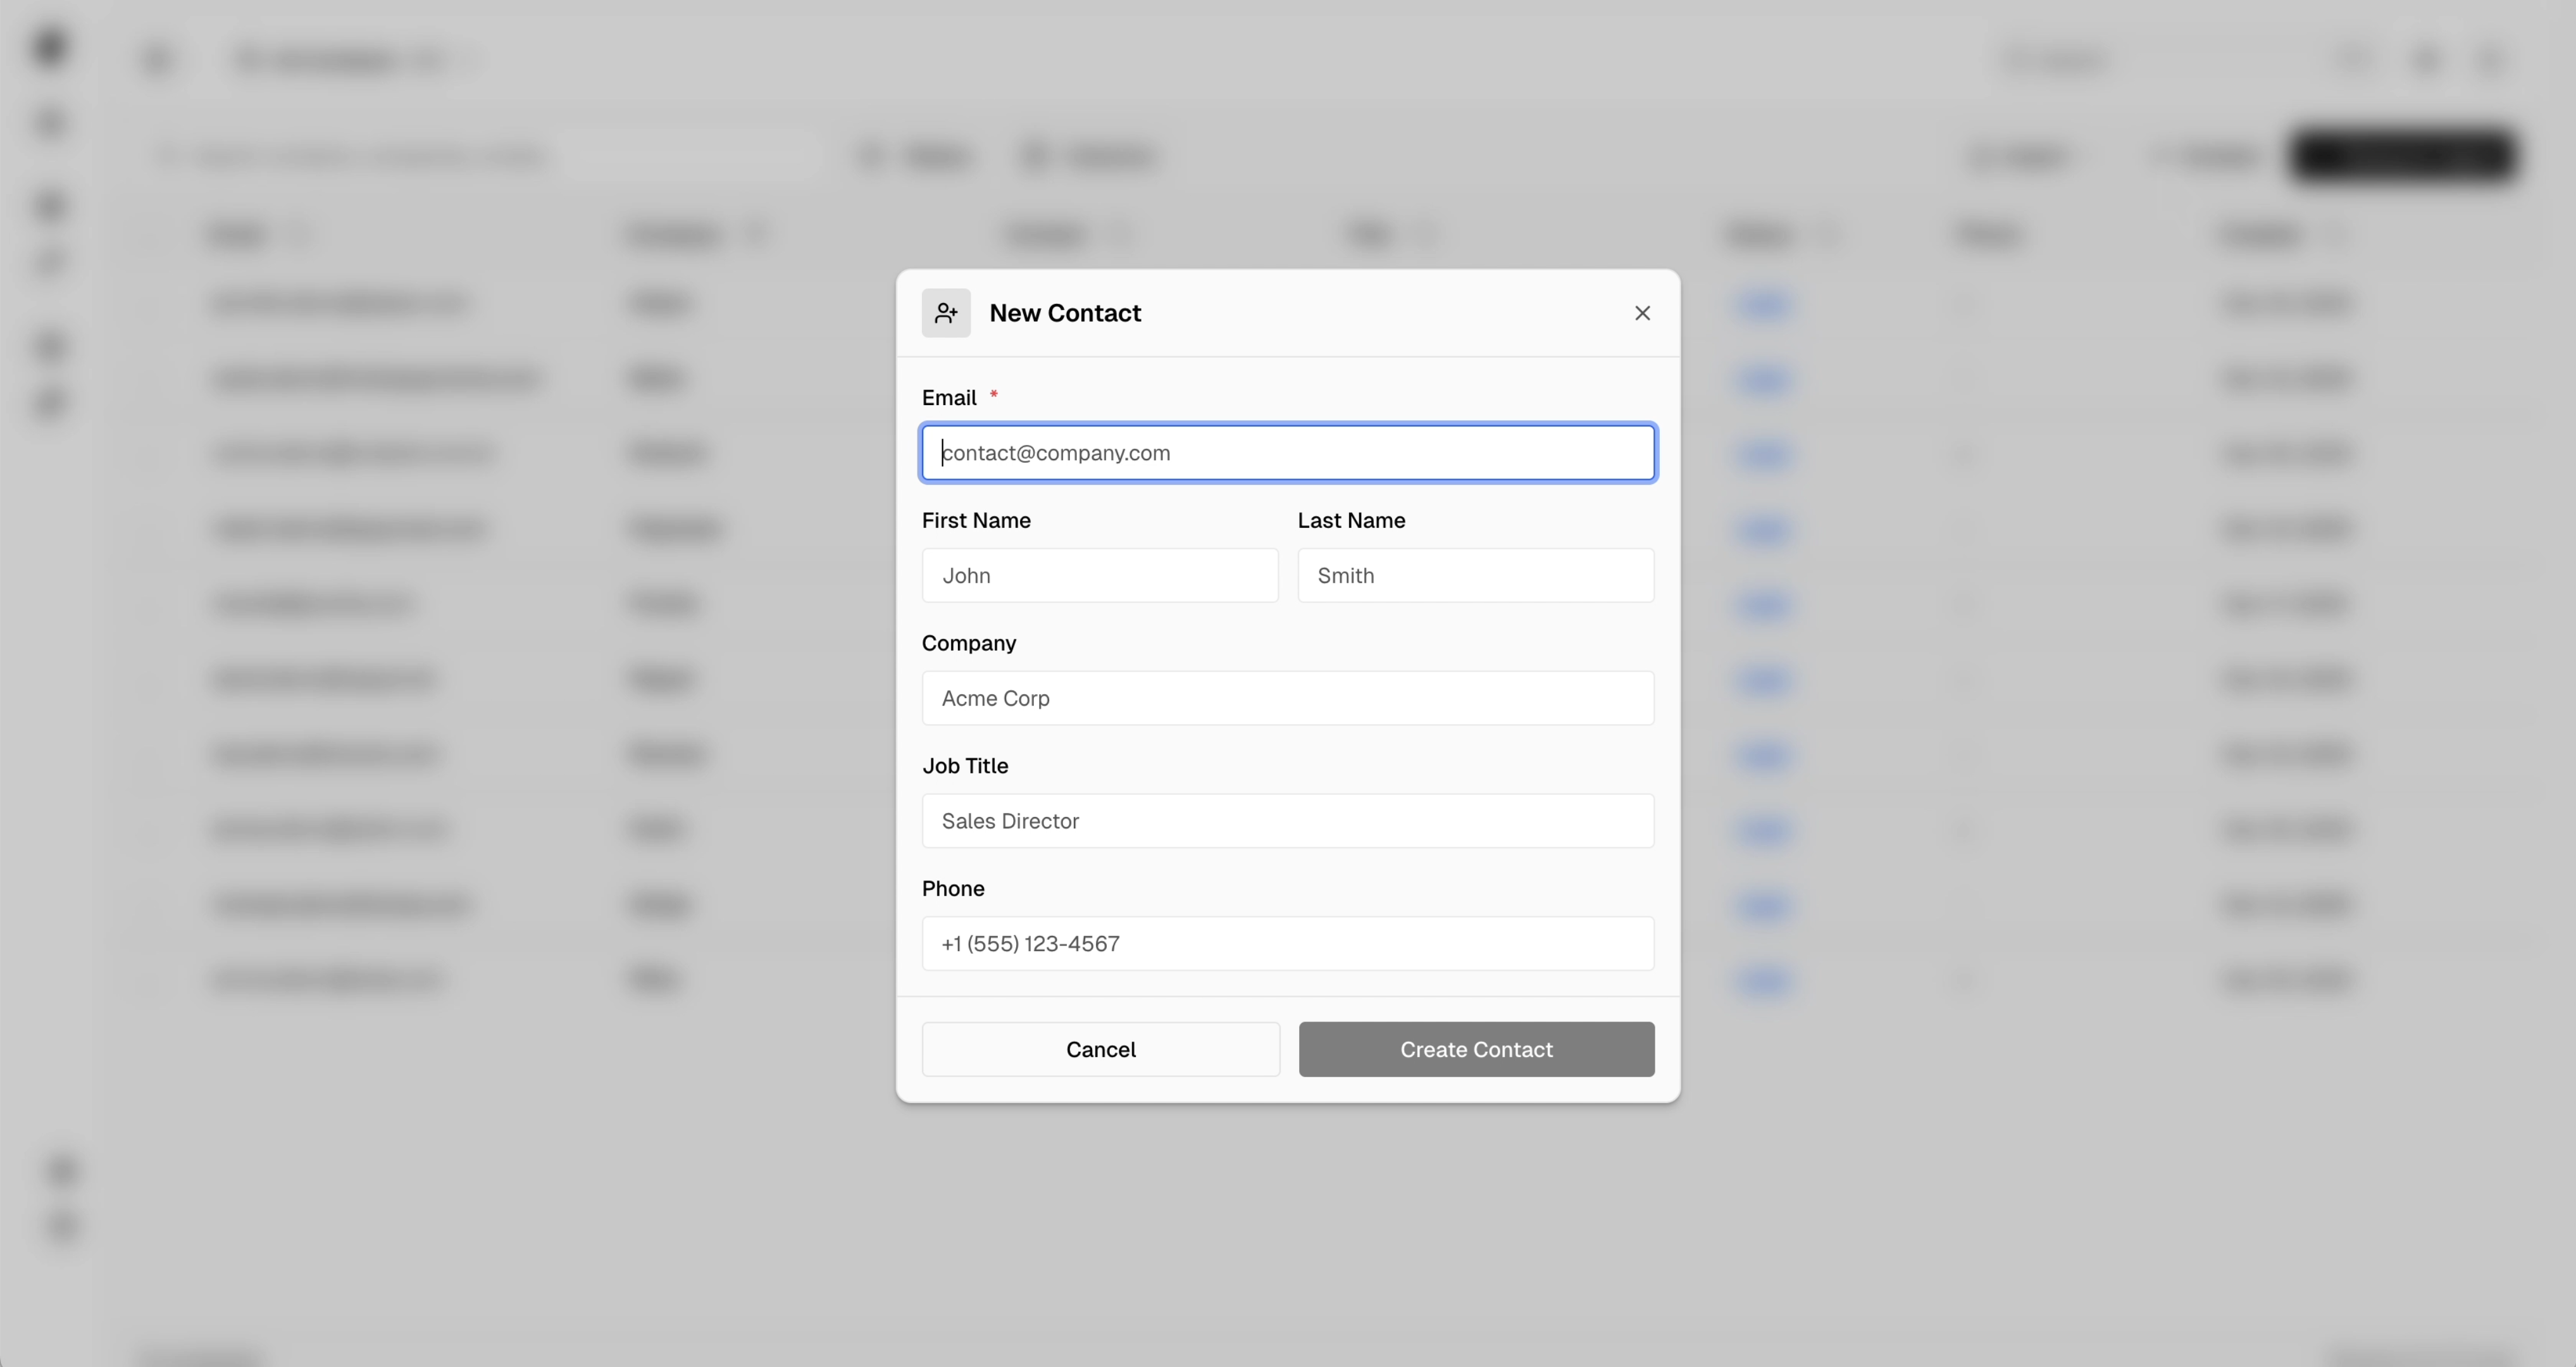
Add contact modal with form fields

2

Enter Contact Details

Fill in the contact information:
FieldRequiredDescription
EmailYesThe contact’s email address (used as primary identifier)
First NameNoContact’s first name
Last NameNoContact’s last name
CompanyNoOrganization or company name
Job TitleNoRole or position
PhoneNoPhone number in any format
3

Create the Contact

Click Create Contact. The contact will be added immediately and appear in your contacts table.
After creating a contact from the contacts page, you’ll stay on the contacts page with the list refreshed. When creating from a board, you’ll be taken directly to that contact’s board view.

CSV Import

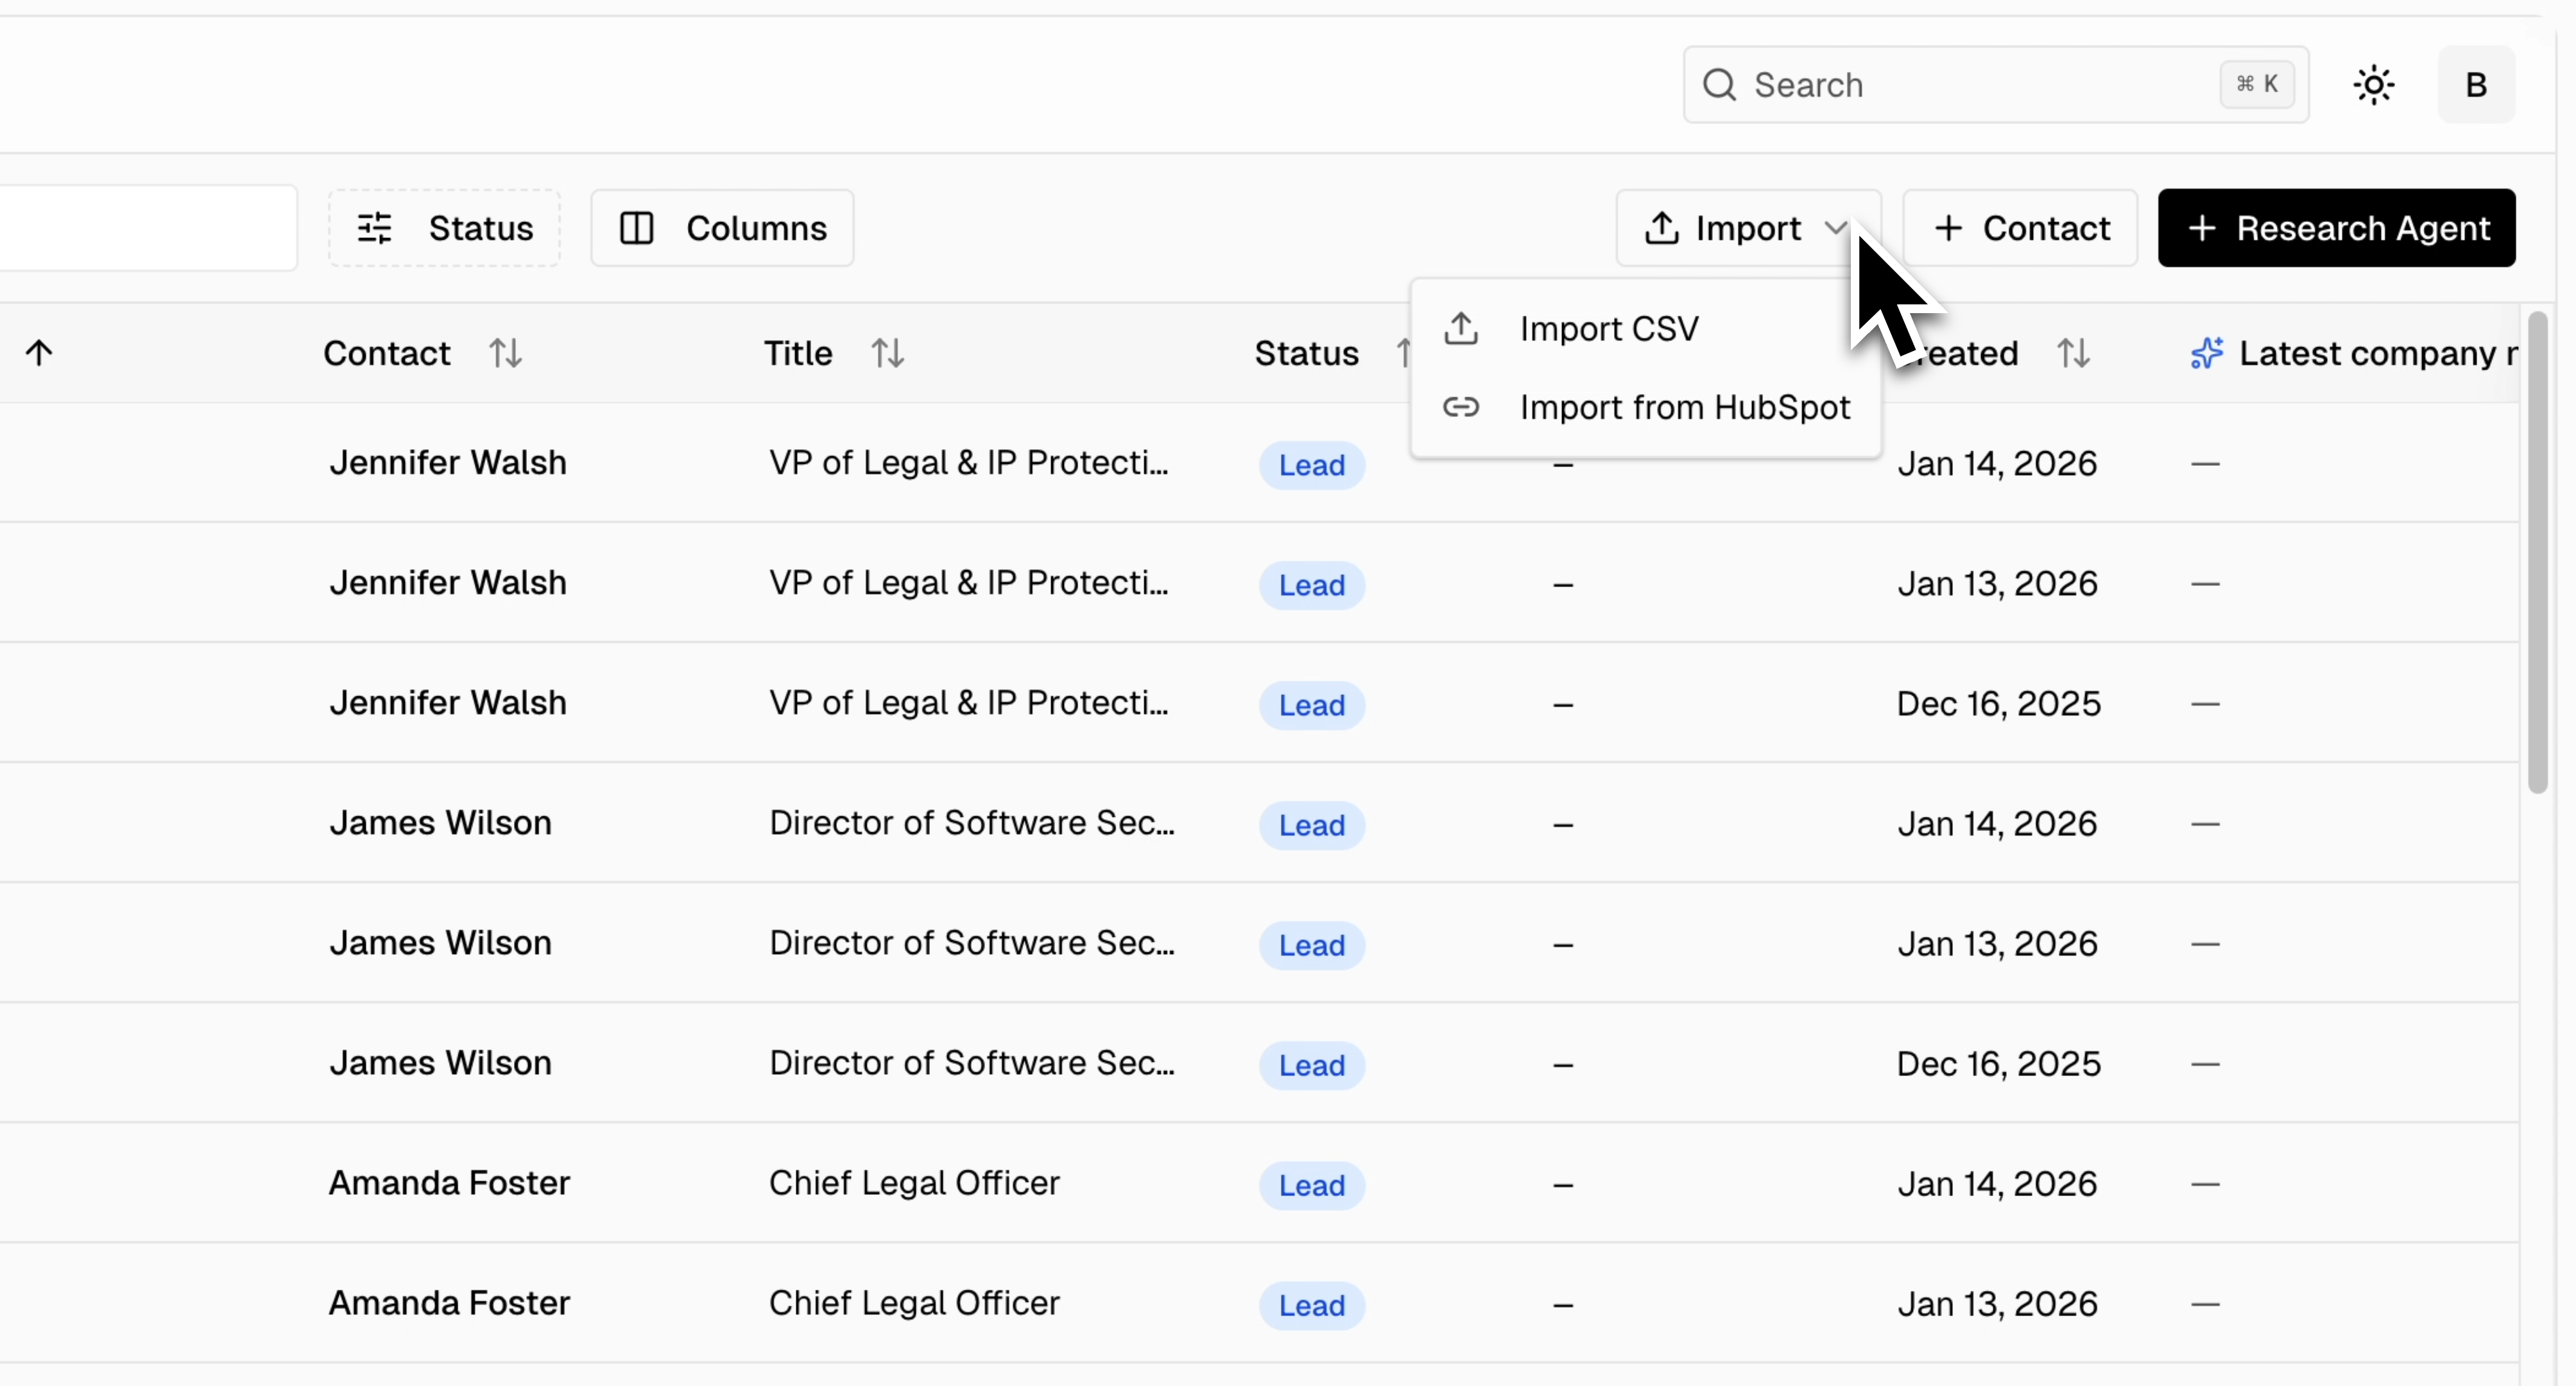
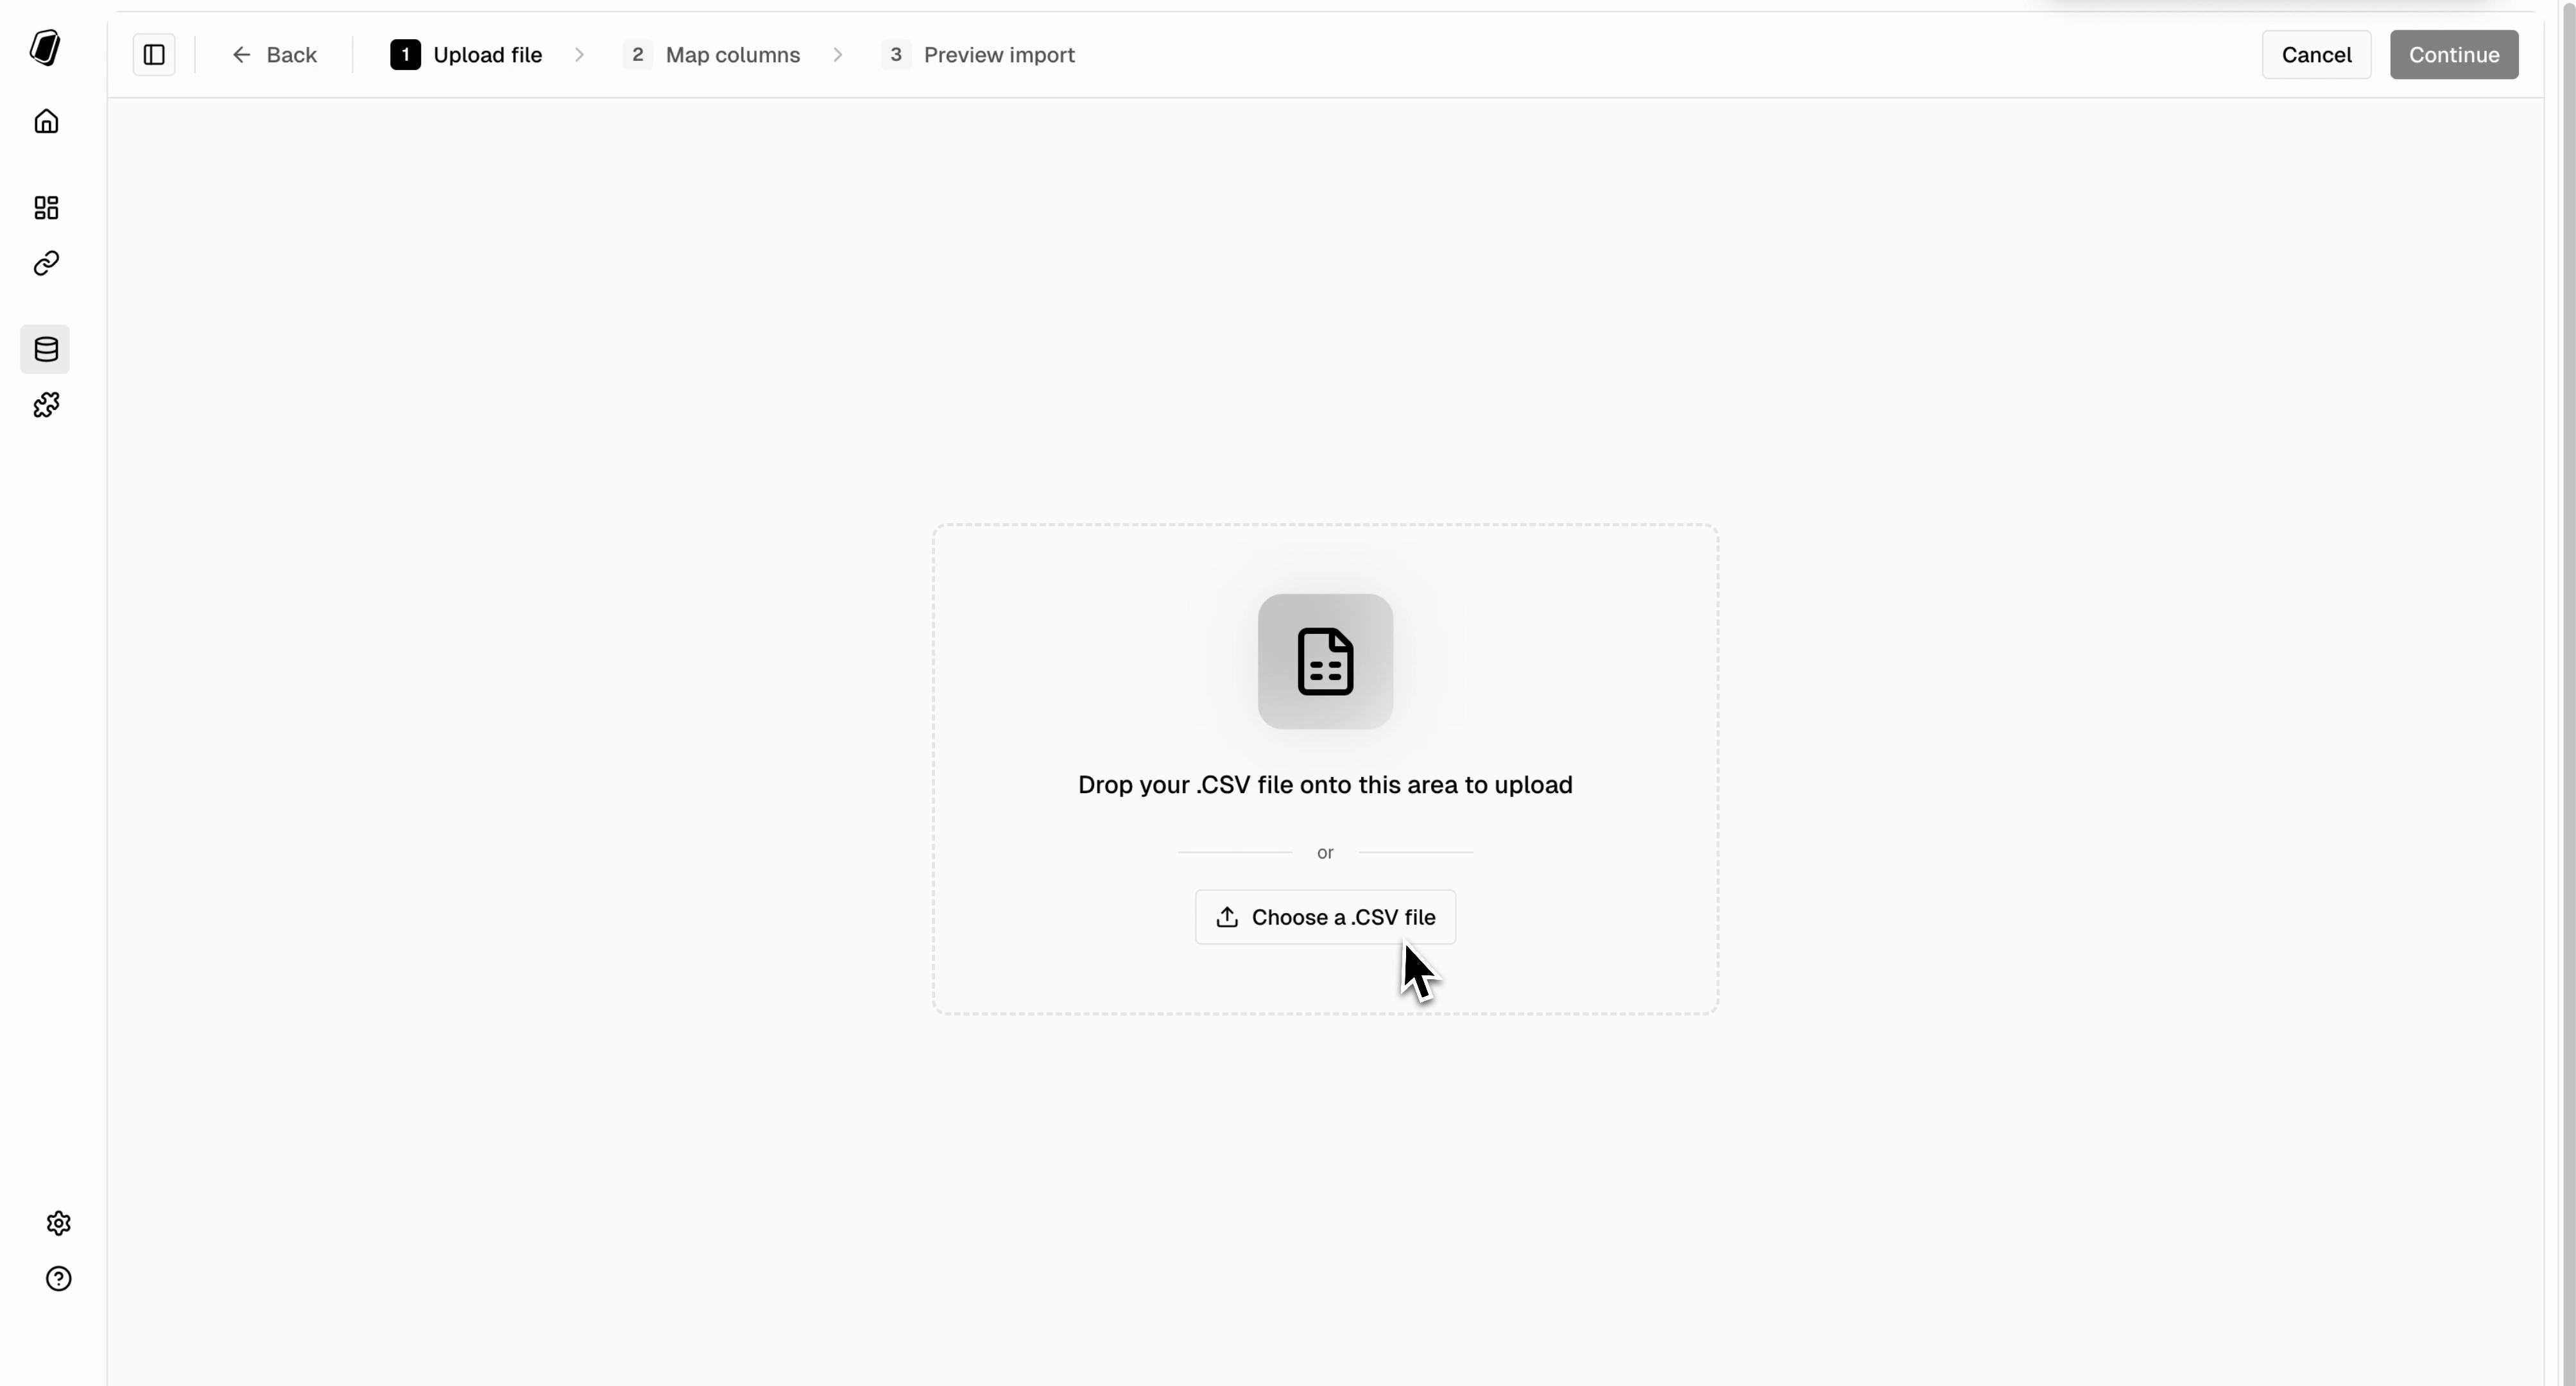
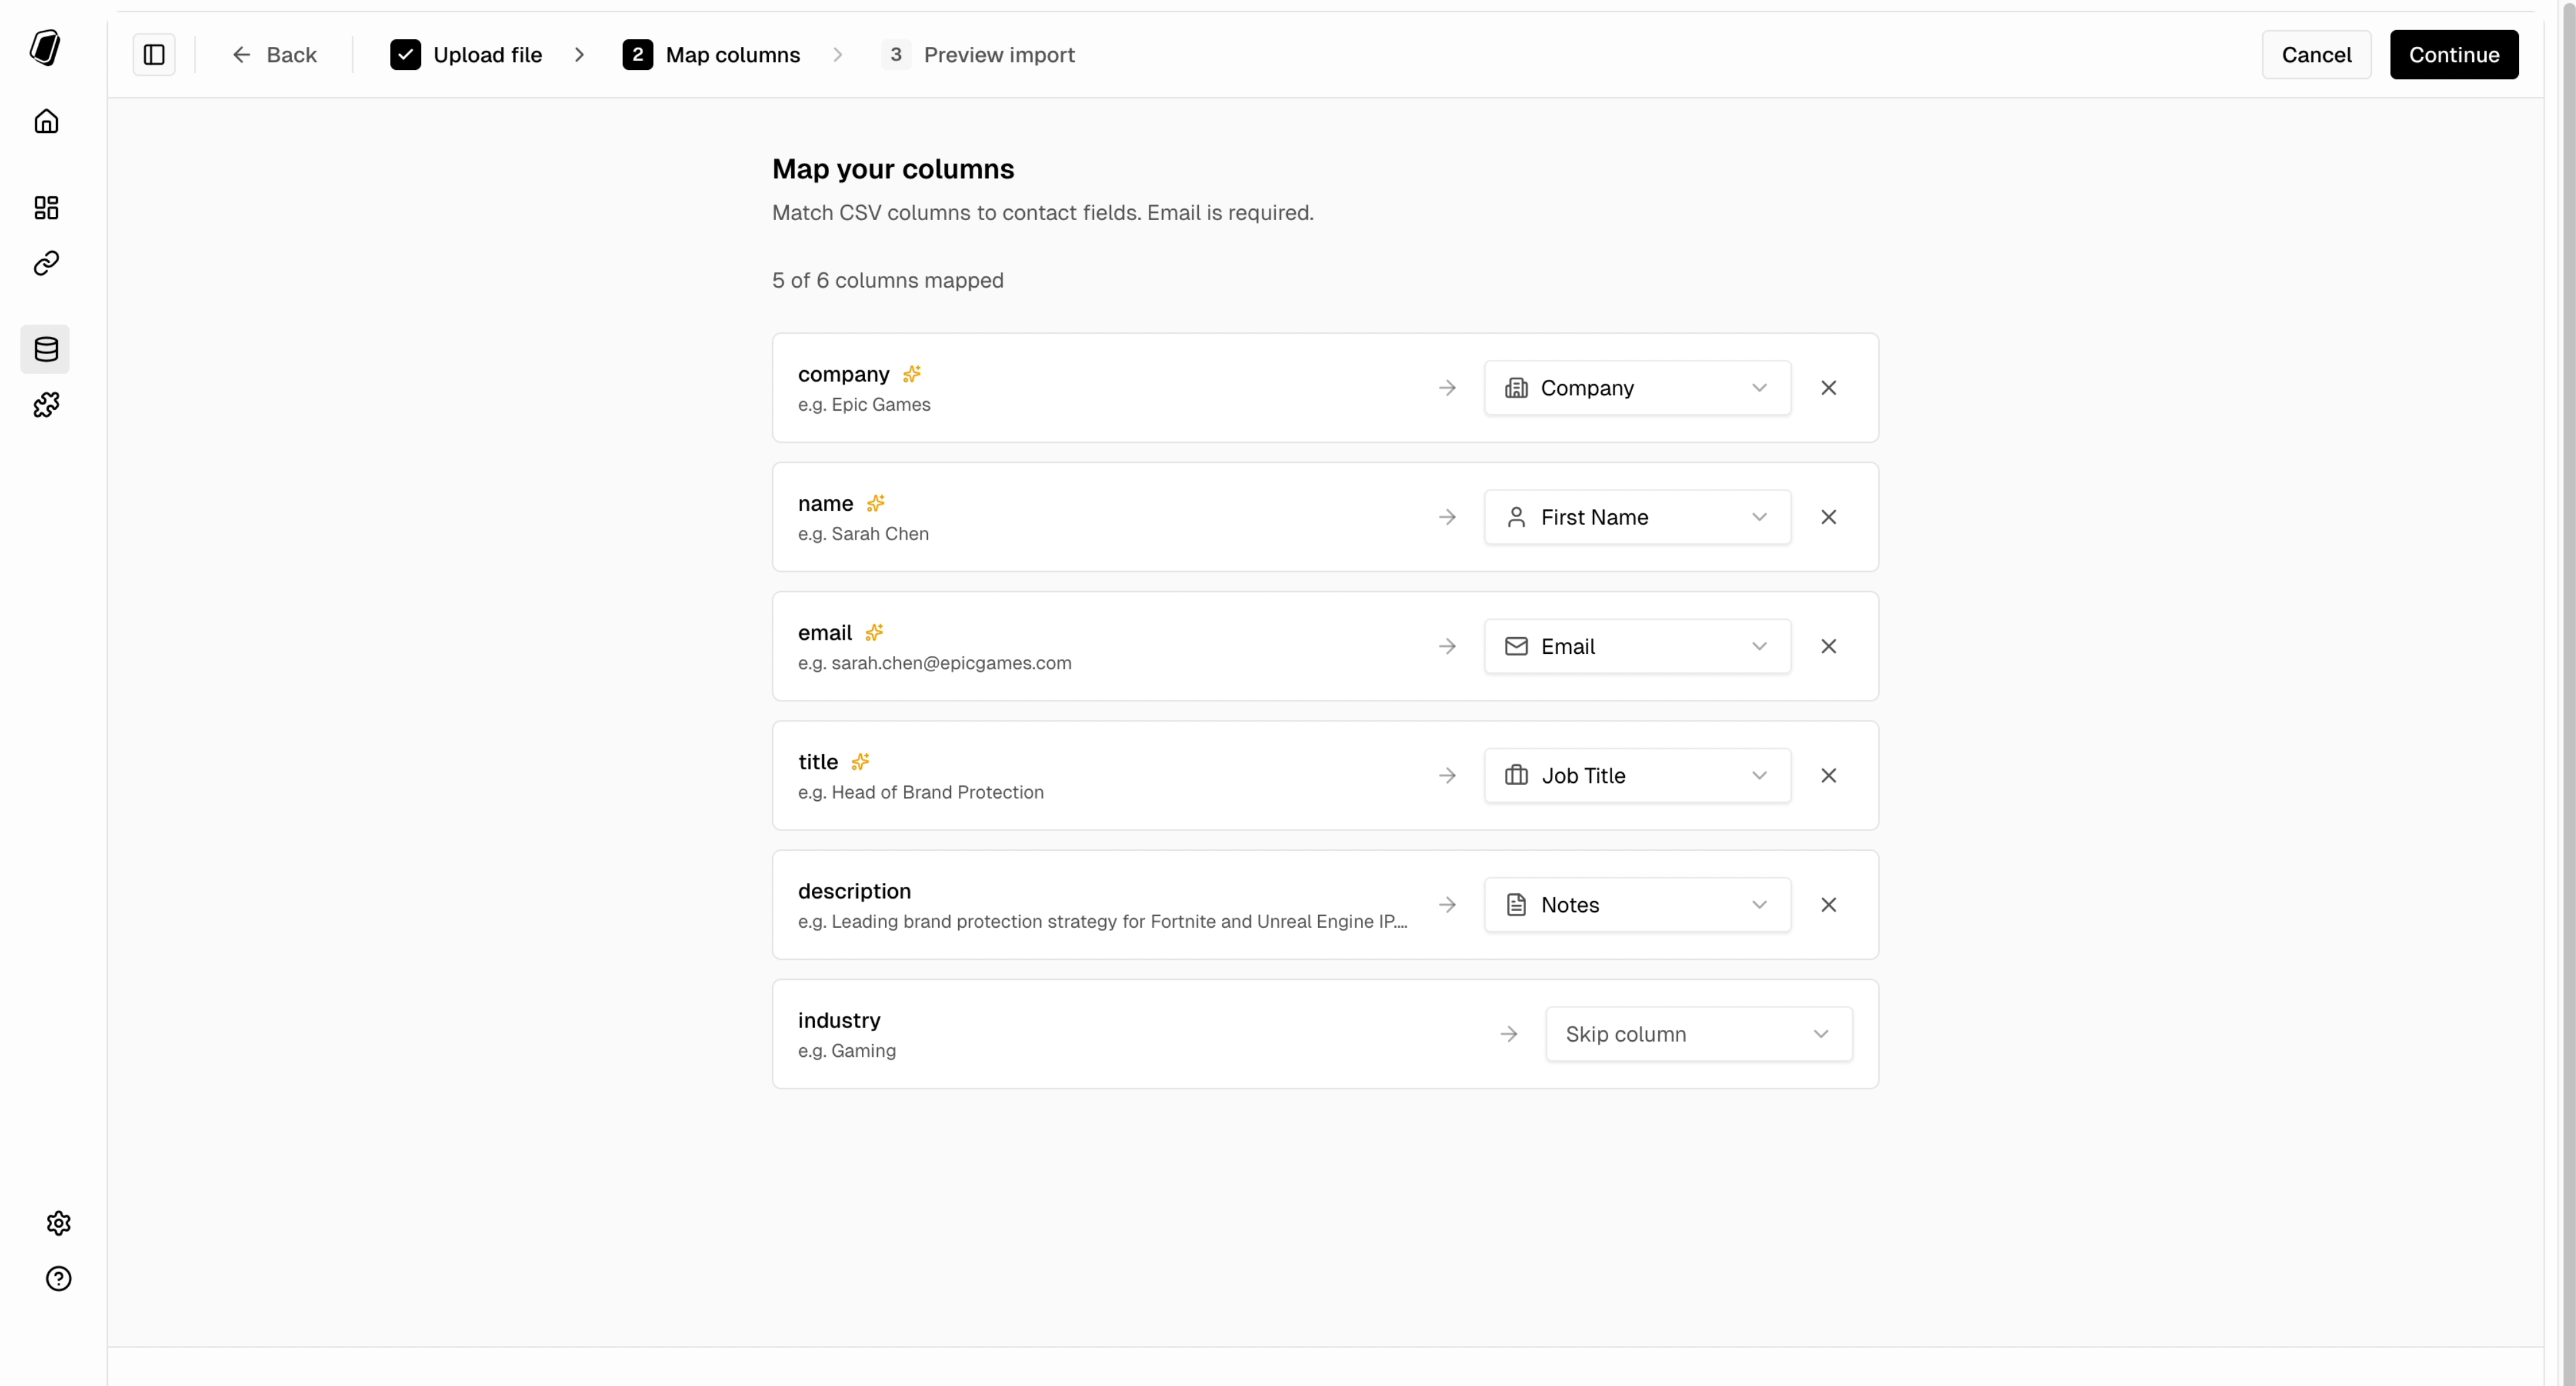
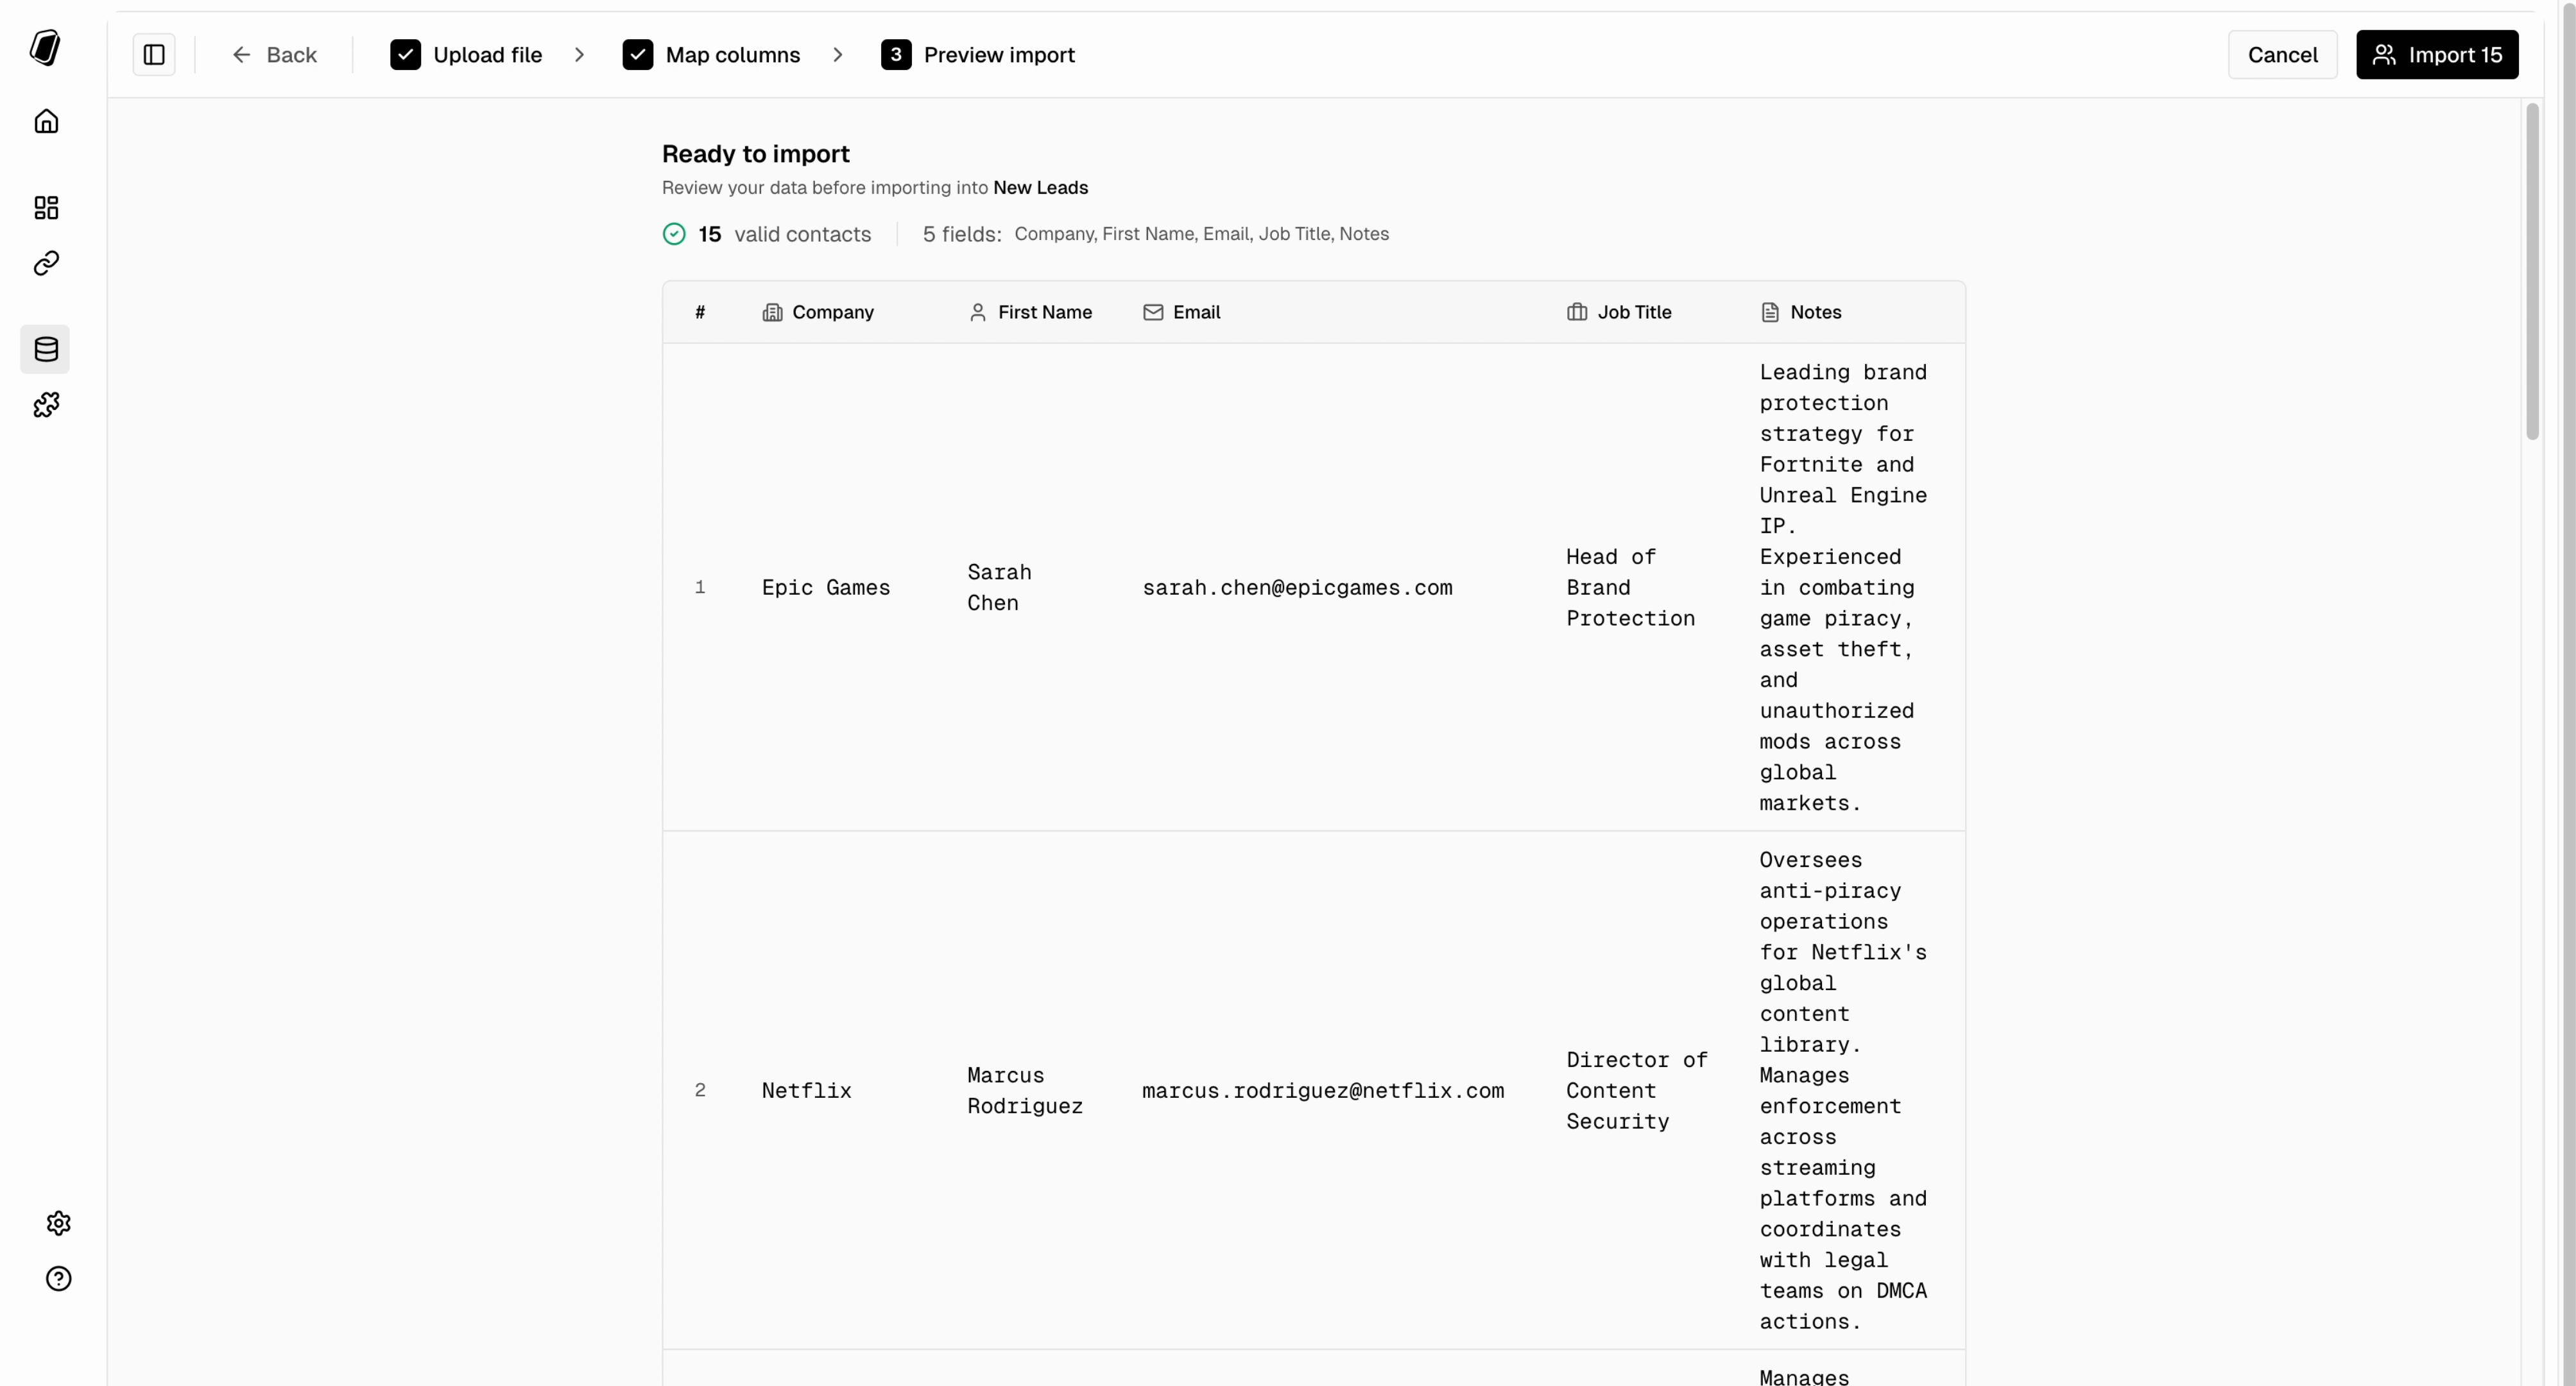
Import multiple contacts at once using a CSV file. This is the fastest way to bulk-add contacts from spreadsheets, exports from other tools, or purchased lists.

CSV import flow walkthrough

Preparing Your CSV

Your CSV file should include headers in the first row. Pockla recognizes these standard column names:
Column NameMaps ToNotes
emailEmailRequired - primary identifier
first_name or firstNameFirst Name
last_name or lastNameLast Name
companyCompany
job_title or jobTitle or titleJob Title
phonePhone
notesNotes
email,first_name,last_name,company,job_title,phone
[email protected],John,Smith,Acme Corp,Sales Director,+1 555 123 4567
[email protected],Jane,Doe,Startup Inc,CEO,
[email protected],Mike,Johnson,BigCo,VP Marketing,+44 20 7946 0958

Import Steps

1

Navigate to Contacts

Go to Contacts from the sidebar navigation.
2

Click Import

Click the Import button in the toolbar.
Contacts header showing Import button highlighted

Contacts header showing Import button highlighted

3

Upload Your File

Drag and drop your CSV file, or click to browse and select it.
CSV upload dropzone

CSV upload dropzone

4

Map Columns

Pockla will attempt to auto-match your CSV columns to contact fields. Review and adjust any mappings that weren’t detected correctly.
  • Green checkmarks indicate matched columns
  • Use dropdowns to manually map unrecognized columns
  • Skip columns you don’t want to import
Column mapping interface with dropdowns

Column mapping interface with dropdowns

5

Review and Confirm

Preview the data that will be imported. Check for any issues or formatting problems, then click Import.
Import preview showing sample rows

Import preview showing sample rows

Handling Duplicates

Pockla uses email address as the unique identifier for contacts:
  • New emails: Creates a new contact
  • Existing emails: Updates the existing contact with new data
  • Empty fields: Won’t overwrite existing data (only fills in blanks)
Contacts without a valid email address will be skipped during import.

Contact Fields

Standard Fields

Every contact in Pockla has these built-in fields:
FieldTypeDescription
EmailStringPrimary identifier (required)
First NameStringContact’s first name
Last NameStringContact’s last name
CompanyStringCompany or organization
Job TitleStringRole or position
PhoneStringPhone number
NotesTextFree-form notes
StatusSelectLead, Prospect, Customer, or Churned
CreatedDateWhen the contact was added

Contact Status

Every contact can have a status to track where they are in your pipeline:

Lead

New contacts, not yet qualified

Prospect

Qualified, actively working

Customer

Converted customers

Churned

Former customers

Enrichment Columns

When you create enrichment templates (AI-powered research), they appear as additional columns in your contacts table. These columns show:
  • No data yet
  • Generating (with spinner) Research in progress
  • Preview text Completed research (click to view full content)
  • Error icon Generation failed (can retry)
Enrichment Columns

Contacts table showing enrichment column with different states

See Enriching Data to learn more about adding enrichment columns.

Bulk Actions

After importing or selecting contacts, you can perform actions on multiple contacts at once:
ActionDescription
Add to ListAdd selected contacts to a new or existing list
Create LinksGenerate personalized link sets for selected contacts
Run EnrichmentExecute AI research on selected contacts
DeletePermanently remove selected contacts
Bulk Actions

Selection bar at bottom of contacts table showing bulk action buttons

1

Select Contacts

Use the checkboxes in the leftmost column to select contacts. Click the header checkbox to select all visible contacts.
2

Choose Action

A selection bar appears at the bottom showing the count of selected contacts and available actions.
3

Confirm

Complete the action dialog (e.g., choose a list name) and confirm.

Filtering and Sorting

Filter by List

Use the dropdown in the header to filter contacts by list membership:
  • All Contacts: Show everyone
  • Specific List: Show only contacts in that list
Filter contacts

List filter dropdown in contacts header

Sort Columns

Click any sortable column header to sort:
  • Email: Alphabetical
  • Company: Alphabetical
  • Contact: By name
  • Title: Alphabetical
  • Status: By status type
  • Created: By date added
Click again to reverse the sort order (ascending ↔ descending).
Full-text search across contacts is coming soon.

Next Steps